Crochet Gingerbread Man Pattern for a Charming Christmas Ornament
A tiny gingerbread face peeking out from a Christmas tree has a way of making the whole room feel warmer. Add creamy icing, a red stitched bow, and a hanging loop, and a few scraps of brown yarn become a decoration someone can enjoy every December.
This crochet gingerbread man pattern uses small, separate shapes that you sew together into a flat ornament. You can pause between pieces, change the decorations, and turn the same little character into a gift topper or a festive garland. The construction is especially helpful if working a complete shaped silhouette still feels intimidating.
You will find stitch counts, a simple assembly map, troubleshooting advice, and ideas for making a coordinated Christmas set. Choose a biscuit-brown yarn, gather your cream and red scraps, and decide who your first gingerbread friend will be for.
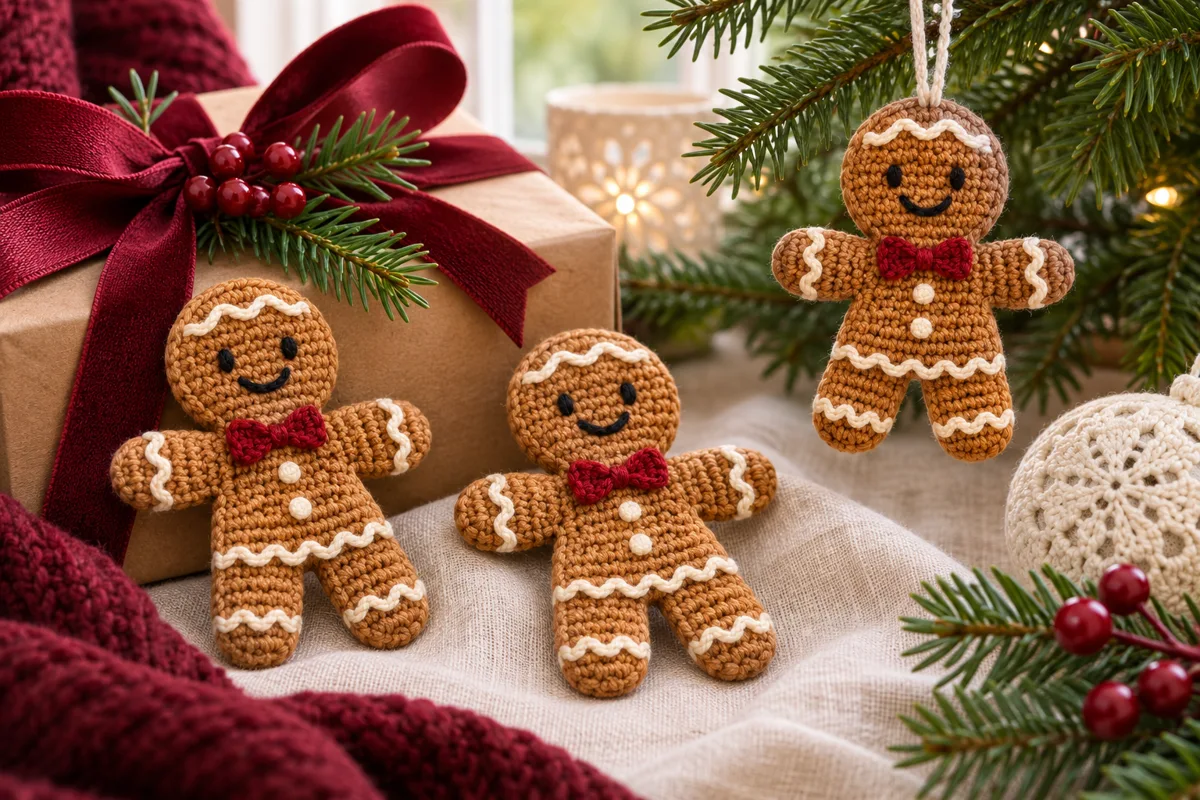
What You Will Make
The ornament consists of a circular head, a rectangular body, two short arms, and two legs. All six pieces are flat. There is no stuffing, and the back remains accessible while you embroider. That makes it easier to secure tails and adjust the expression before finishing.
| Project detail | What to expect |
|---|---|
| Skill level | Confident beginner with basic sewing skills |
| Construction | Six flat pieces, sewn together |
| Techniques | Chains, single crochet, increases, joining, embroidery |
| Size | Determined by yarn, hook, tension, and overlap |
| Best uses | Tree ornament, reusable gift topper, decorative garland |
If you would like a second handmade shape for your tree, pair this project with the Crochetnox crochet Christmas star ornament. Using the same cream and brown yarn across both projects helps the decorations look intentional together.
Yarn, Hook, and Supplies
Choose a smooth yarn with enough definition to see individual stitches. Cotton gives the pieces a crisp appearance, while smooth acrylic can create a softer look. Start with medium-weight yarn and a compatible hook from the yarn label, then adjust if your fabric is unusually stiff or loose.
| Supply | Suggested choice | Purpose |
|---|---|---|
| Main yarn | Smooth brown worsted-weight yarn | All six gingerbread pieces |
| Accent yarn | Cream, red, and black scraps | Icing, bow, eyes, and smile |
| Hook | A compatible starting size, often 3.5–4 mm | Firm, workable fabric |
| Tapestry needle | Blunt tip with a suitable eye | Assembly and embroidery |
| Other tools | Scissors, stitch marker, ruler | Finishing and checking consistency |
Make one body first before preparing a large batch. Record the hook size and measure the piece after it relaxes. This gives you a practical reference for matching the remaining ornaments. Keep enough brown yarn for assembly tails rather than cutting every tail short.
Choose Your Christmas Color Palette
| Style | Body | Decorations |
|---|---|---|
| Classic Christmas | Golden brown | Cream icing and red bow |
| Woodland Christmas | Warm cinnamon | Ivory icing and forest-green bow |
| Candy-shop Christmas | Light biscuit | Cream icing and pink accents |
For a cohesive tree, repeat one accent color instead of giving every ornament a completely different palette. Small variations in faces and initials will provide plenty of personality.
Stitches and Pattern Notes
These instructions use US crochet terminology. For a terminology reference, visit the Craft Yarn Council crochet abbreviation guide.
| Abbreviation | Meaning in this pattern |
|---|---|
| ch | Chain |
| sc | Single crochet |
| sl st | Slip stitch |
| inc | Work 2 sc in the same stitch |
| st / sts | Stitch / stitches |
For every flat row after the first, chain one and turn. This turning chain does not count as a stitch. Work the first single crochet into the first actual stitch and the last into the last actual stitch. Counts in parentheses show the stitches you should have after completing the row or round.
Crochet Gingerbread Man Pattern, Step by Step
1. Make the Round Head
With brown yarn, ch 2. For round 1, work 6 sc into the second chain from the hook. Place a marker in the first stitch. Continue in a spiral without joining between rounds.
| Round | Instructions | Count |
|---|---|---|
| 1 | 6 sc into second chain from hook | 6 |
| 2 | Inc in each stitch around | 12 |
| 3 | Repeat [sc in next stitch, inc in next stitch] 6 times | 18 |
Sl st into the next stitch to smooth the finish, then fasten off with a sewing tail. The finishing slip stitch is not an additional pattern stitch. Gently flatten the circle with your fingers. A tight starting chain may leave a small center opening, which you can close with the starting tail.
2. Make the Body
Ch 7. Row 1 starts in the second chain from the hook. Work 1 sc in each remaining chain for 6 sc. For rows 2–8, ch 1, turn, and sc across all 6 stitches. Fasten off with a long sewing tail.
Your body should have six stitches across and eight rows vertically. Count now, before sewing anything onto it. If one side has started tapering, an edge stitch was probably missed. Correcting that rectangle is much easier while it is still separate.
3. Make Two Arms
For each arm, ch 4. Row 1 starts in the second chain from the hook. Sc across the three available chains. For rows 2–4, ch 1, turn, and sc across all 3 stitches. Fasten off, leaving a sewing tail. Make the second arm with the same hook and tension.
Compare the pieces side by side. They should look alike before you attach them. Positioning short rectangular arms slightly downward gives the character a relaxed, friendly silhouette.
4. Make Two Legs
For each leg, ch 4. Work row 1 exactly as for an arm to make 3 sc. For rows 2–5, ch 1, turn, and sc across all 3 stitches. Fasten off with a sewing tail. Repeat for the second leg.
The legs have one more row than the arms. Keep the pieces in separate pairs so you do not accidentally attach a leg at the shoulder. A small tray or folded piece of paper works well for organizing them.
Assemble Your Gingerbread Ornament
Place the body vertically on a flat surface. Position the head above it, overlapping the lower edge of the circle onto the top of the body. Arrange one arm at each upper side and the two legs beneath the lower corners. Leave a visible gap between the legs.
| Connection | Placement guide | Check before sewing |
|---|---|---|
| Head to body | Centered over the upper body | Face sits upright |
| Arms to body | Upper side edges, slightly downward | Both sides match |
| Legs to body | Lower corners with a gap | Feet appear evenly placed |
Overlap each limb by roughly one row as a starting point, adjusting to suit your fabric. Use the brown tails to sew through both layers at each overlap. Spread the sewing across the join instead of attaching a limb with a single stitch. Weave the remaining tail through several stitches on the back.
Lift the ornament gently and check that every connection holds its position. If a limb twists freely, add another anchoring stitch. Complete the structural joins before adding decorative embroidery.
Add Icing, a Face, and a Personal Touch
Use cream yarn to embroider short backstitches near the outer edges. Keep the strand relaxed enough that the brown fabric stays flat. Work in short sections, checking the front regularly. You can add icing around the head, at the wrists and ankles, or across the lower body.
Embroider two small black eyes and a curved smile. Try positioning the eyes before committing to the smile, because tiny changes can alter the expression. Add two cream stitched buttons on the torso and a red embroidered bow at the neckline.
For personalization, replace one button with a small initial. Keep the letter simple and large enough to recognize. If the body feels crowded, attach a separate paper gift tag with the recipient’s name.
This is a decorative project. Hang it where young children and pets cannot reach it. Embroidered details also keep the design lightweight and avoid adding loose decorative buttons.
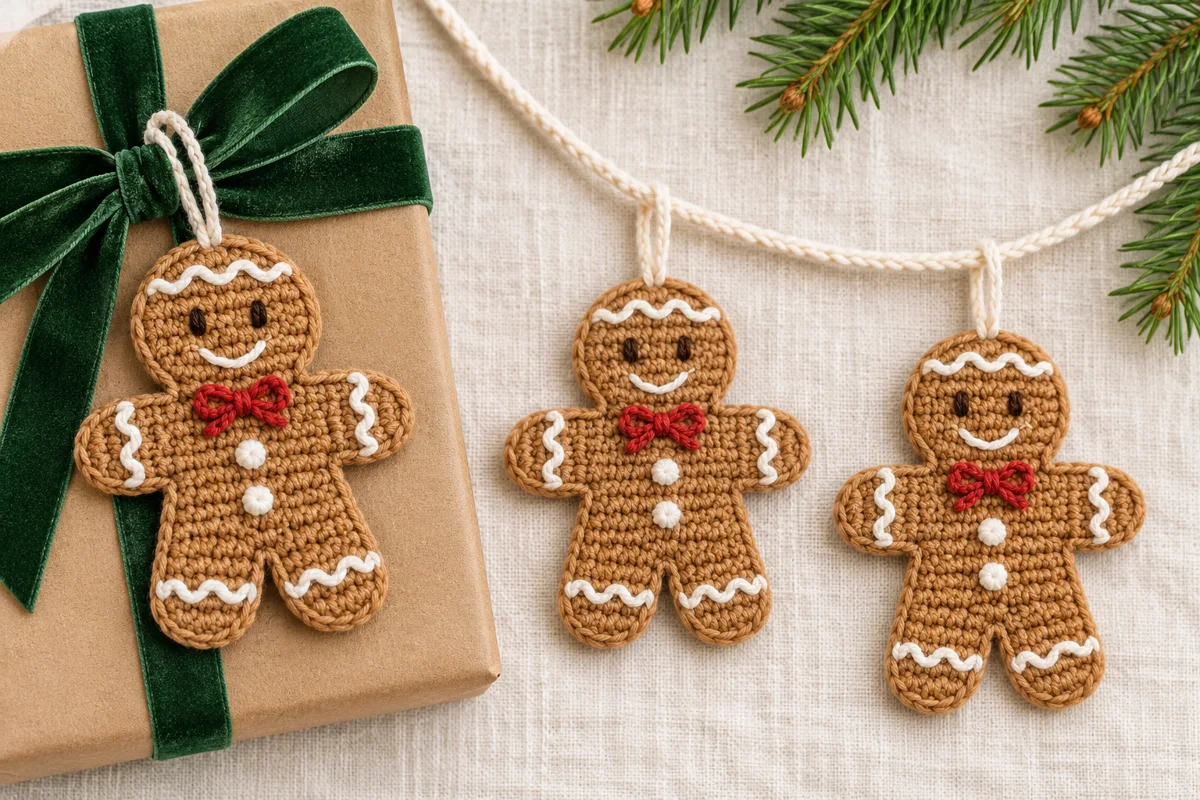
Three Ways to Use Your Crochet Gingerbread Man
A Christmas Tree Ornament
Thread a separate strand through several stitches at the top of the head and secure a hanging loop. Check that the ornament hangs upright before tightening everything. Place it beside cream stars, red ribbons, or natural wooden decorations for a coordinated display.
A Reusable Gift Topper
Tie the ornament onto a wrapped present using its hanging loop. Add a card suggesting that the recipient hang it on the tree afterward. Plain kraft paper works particularly well because the crochet texture becomes the focus.
A Gingerbread Garland
Make several characters and attach each to a separate length of cord through its hanging loop. Space them evenly and adjust while the garland lies flat. Alternate gingerbread figures with stars for variety, keeping the same accent yarn throughout.
Prefer floral decorations? The Crochetnox easy crochet flower guide offers another project to explore. A coordinated cream-and-red palette can connect different handmade decorations without requiring identical shapes.
Fix Common Problems Before Finishing
| Problem | Likely cause | Practical fix |
|---|---|---|
| Head cups inward | A missed increase or tight stitches | Check the 6, 12, 18 counts and remake if needed |
| Body narrows | A missed edge stitch | Count 6 stitches on every row |
| Icing puckers | Embroidery pulled too tightly | Loosen and redo that section |
| Arms sit unevenly | Different attachment heights | Compare shoulder positions before securing tails |
| Ornament hangs sideways | Loop is off-center | Reposition the loop above the head’s center |
Lightly shape the finished piece according to the yarn label’s care instructions. Avoid pressing it with direct heat. Let it dry flat completely before storing, wrapping, or hanging it.
Plan a Small Batch Without Losing the Fun
If you are making ornaments for several people, finish one complete sample first. Write down its measurements and photograph the placement of the arms and legs. Keep that sample beside you while assembling the rest so the characters have similar proportions.
Then work in stages. Make all the heads, followed by the bodies and paired limbs. Place one complete set of pieces in each small envelope before sewing. This simple habit prevents mismatched pairs and makes it easy to stop for the evening without losing your place.
Leave personalization until the end. Choose the bow colors together, then add initials or individual gift tags. Before wrapping, check every seam, trim stray ends, and gently test each hanging loop. Include a small care card asking the recipient to store the ornament dry and flat between Christmas seasons. Thoughtful finishing can make a modest yarn project feel like a carefully chosen gift.
Frequently Asked Questions
Can beginners make this crochet gingerbread man?
The stitches are basic, but assembly and embroidery require patience. Practice one rectangle and the small circle first. Complete one ornament before cutting yarn for a whole set.
Can I make it larger?
Thicker yarn and a compatible larger hook usually produce a larger piece, although the exact dimensions depend on tension. Keep the same yarn and hook for every brown component so the proportions remain consistent.
Does this ornament need stuffing?
This version is flat and unstuffed. A padded ornament would need additional layers and revised assembly instructions. For another construction approach, explore Yarnspirations’ separate gingerbread man ornament pattern.
How should I store handmade ornaments?
Make sure they are clean and completely dry. Lay them flat in a small box, separate decorations that might snag, and avoid crushing the embroidered details under heavier ornaments.
Make Your First Gingerbread Friend
Start with one classic brown-and-cream ornament, then choose a bow color that matches your Christmas wrapping. Save your hook size, finished measurements, and any placement adjustments so your next character matches. Which version will you make first—a tree ornament, a personalized gift topper, or a little garland for your holiday corner?